Crafting Magic: The Art of Making 2cm Handmade Wool Felt Balls for Garland Decorations
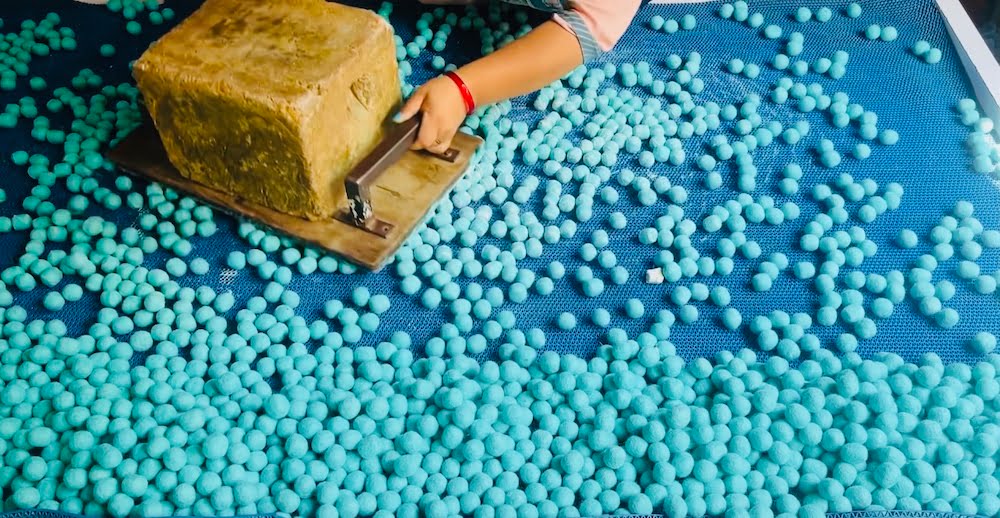
Making of 2cm Wool Felt balls

If you’ve ever marveled at the whimsical charm of 2cm handmade wool felt balls adorning garlands, you might be surprised to learn that creating these delightful decorative elements is a craft in itself. In this article, we will delve into the captivating world of making 2cm felt balls from scratch. From selecting the right materials to mastering the technique, we’ll guide you through the step-by-step process of handcrafting these versatile and enchanting spheres.
Materials Needed:
- Before we dive into the process, let’s gather the materials required for creating 2cm handmade wool felt balls:
- Wool Roving: Choose high-quality wool roving in an array of colors to match your desired palette. Merino wool roving is a popular choice due to its softness and ease of felting.
- Felting Needles: Felting needles have barbed tips that interlock the wool fibers when repeatedly poked, aiding in the felting process. Select fine or medium-gauge felting needles for precision and control.
- Foam Pad: A foam pad serves as a cushioning surface to protect your work area and absorb the needle’s impact during felting.
- Scissors: A pair of sharp scissors will be needed to trim excess fibers and shape the felt balls.
Preparing the Wool Roving:
Start by selecting the desired colors of wool roving. Pull apart a small section of roving and roll it gently between your palms to create a loose ball shape. Repeat this process for each color you intend to use.
Building the Core:
Take a small piece of the primary color wool roving and shape it into a loose ball. Place it on the foam pad and repeatedly poke it with the felting needle until it begins to hold its shape and firm up. Remember to poke the wool evenly from all angles, turning the core as you go.
Adding Layers:
Once you have a solid core, begin adding layers of different colored wool roving. Pull off a small amount of the second color, tease it gently, and wrap it around the core. Continue felting the layers together using the felting needle. Repeat this process with additional colors, alternating and blending them as desired to create unique patterns.
Felting and Shaping:
Continue felting and shaping the wool ball by poking it with the felting needle until it becomes tightly compacted and retains its shape. Roll the felt ball between your palms to create a smooth surface. If necessary, trim any excess fibers with scissors to refine the shape and ensure uniformity.
Checking Size:
To achieve 2cm felt balls, periodically measure the diameter of the ball using a ruler or measuring tape. Adjust the size as needed by adding or removing wool roving and felting until the desired size is achieved.
Finishing Touches:
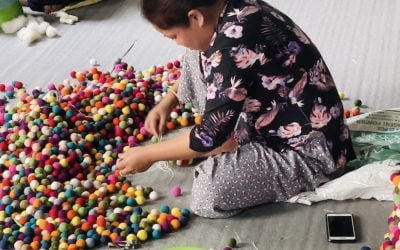
Once you’re satisfied with the size and shape of the felt ball, set it aside and repeat the process to create additional balls in various colors. Rinse the felt balls with warm water and mild soap to remove any excess fibers, then allow them to air dry.


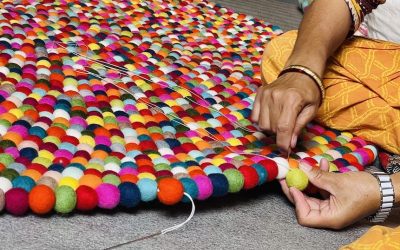
Crafting handmade 2cm wool felt balls for garland decorations is a rewarding and creative endeavor. With a few simple materials and a little patience, you can bring to life a collection of charming spheres that can be used to embellish garlands, wreaths, and a multitude of other craft projects. So, roll up your sleeves, gather your materials, and let your imagination guide you as you embark on the magical journey of creating your very own 2cm felt balls.